Bulk Sign
SigningHub provides an efficient, fast and easy way to sign a pile of documents (up to 50) in one go. For this, use the "Bulk Sign" option to sign your (multiple) documents (in the "Pending" status) through a single click operation. Bulk signing duly works with document signing, reviewing, updating, in-person signing and adding your initials.
However, SigningHub does not allow you to sign those (pending) documents through bulk signing list, in which:
- Permissions (Password or OTP) have been set to open the document, or
- Permission (Document Signing Authentication) have been set for the recipient, or
- The set duration permission to open the document has expired, or
- The next configured recipient in a workflow is an undefined placeholder, or
- The set delegate duration period has expired, or
- The mandatory form fields assigned to you are empty
- Required Attachments recipient permission is configured
The availability of "Bulk Sign" feature is subject to your subscribed Service Plan and Enterprise Role. If you cannot find this option in your account, please ask your Enterprise Admin to upgrade your service plan and enable it in your Role>Document Settings.
Sign multiple documents
- From your documents list, locate and select the pending document(s) to sign. You can select up to 50 documents.
- Click
 from the appearing toolbar.
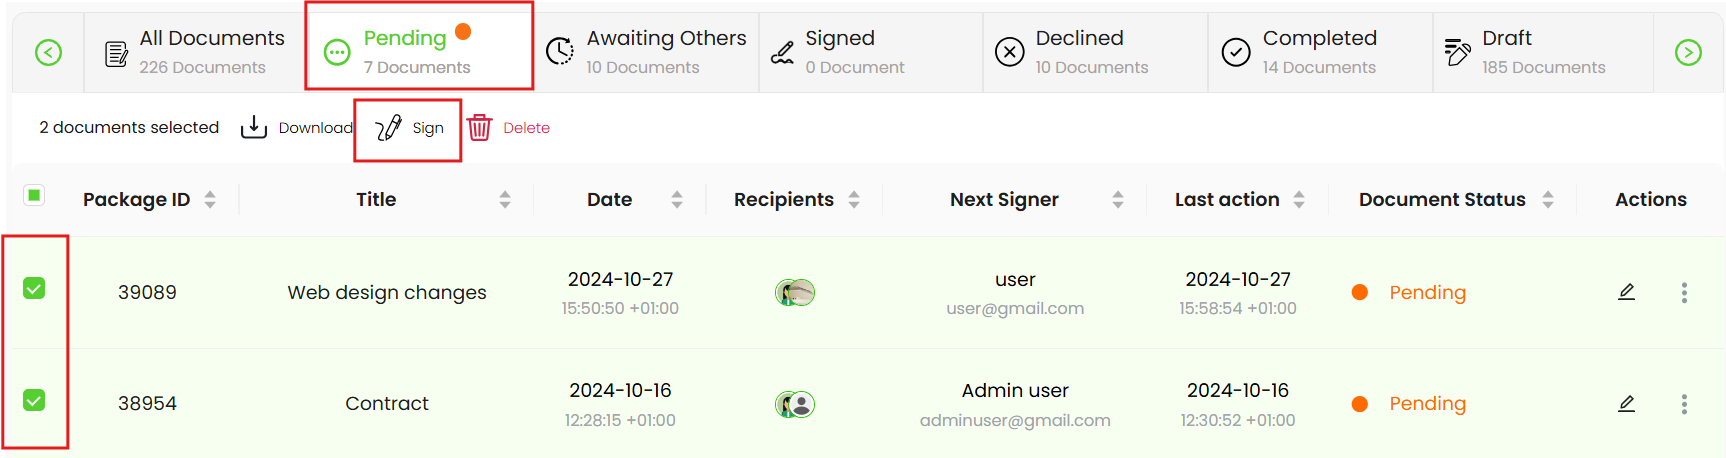
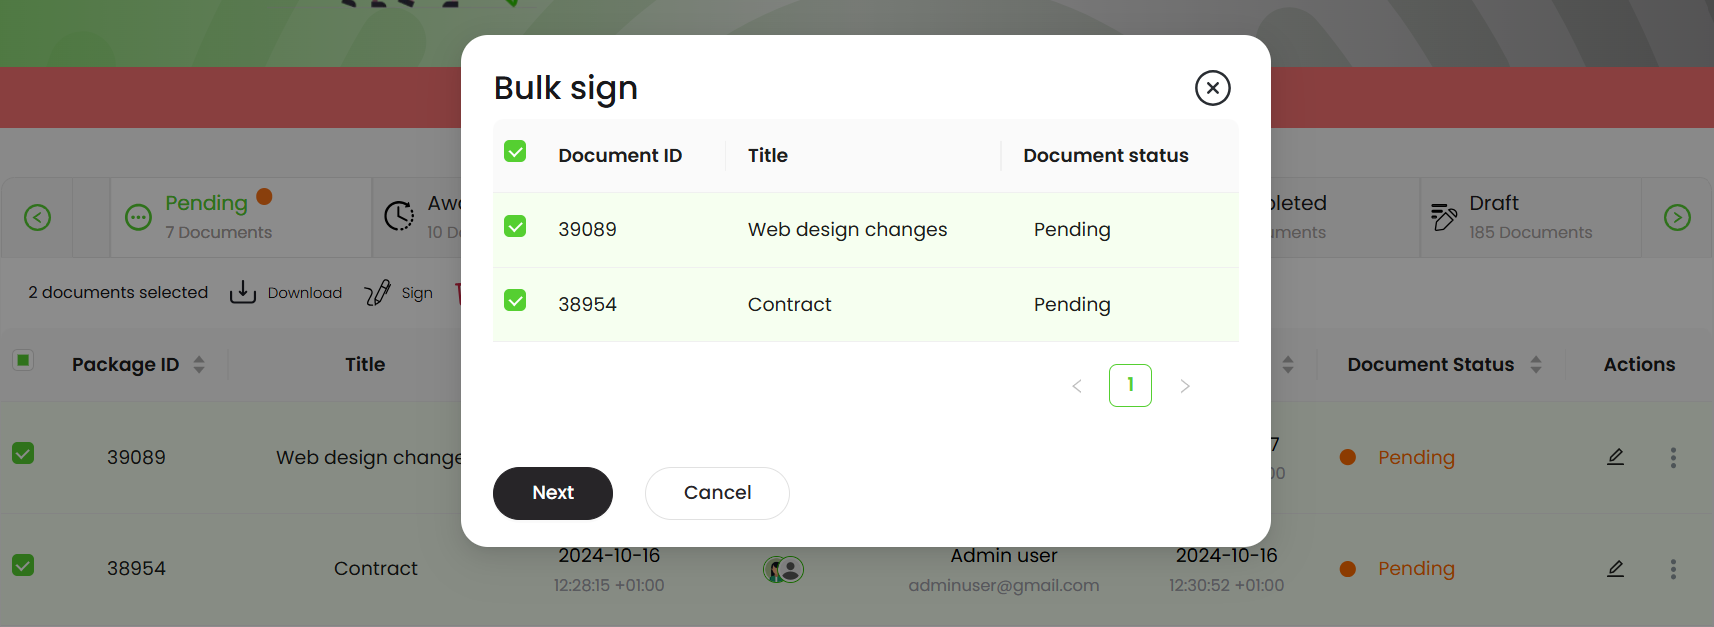
- The "Bulk Sign" dialog will appear, showing the list of selected "Pending" documents.
- Click the "Next" button to proceed to the documents signing.
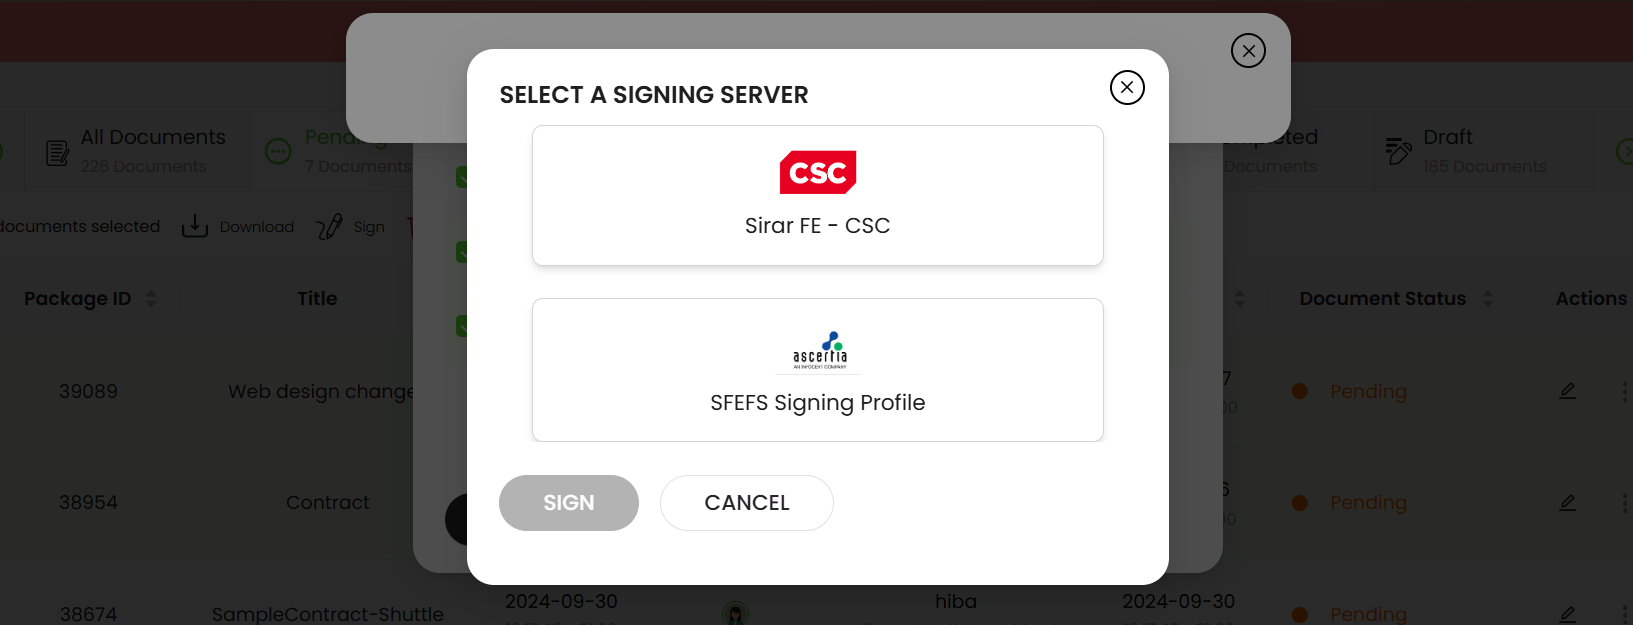
- After click on "Next" the the Signing servers dialog window will appear and display multiple signing servers which can be selected, based on the level of assurance of the signature fields set, by the document owner, in the documents and the level of assurance that are configured in your role. Signing servers are based on service plan configurations, and will display the signing server for server-side and client-side signing both. Select one of the signing servers to perform the signature.
- In case any document has an initial field, then SigningHub will display a dialog to add your initials first.
|
|
|

- The "Sign" dialog will appear to specify a visible signature type (i.e., Text, Draw, Upload or Signature Pad), the signing capacity, signature appearance design, contact information, and location. The options available in the "Signing Capacity" drop-down list will be grouped together based on the required level of assurance of the signature field assigned to the user and the level of assurance that are configured in your role. Configure the fields as required and click on the "SIGN NOW" button. For performing signatures using a Signature Pad, see here.
|
|
|

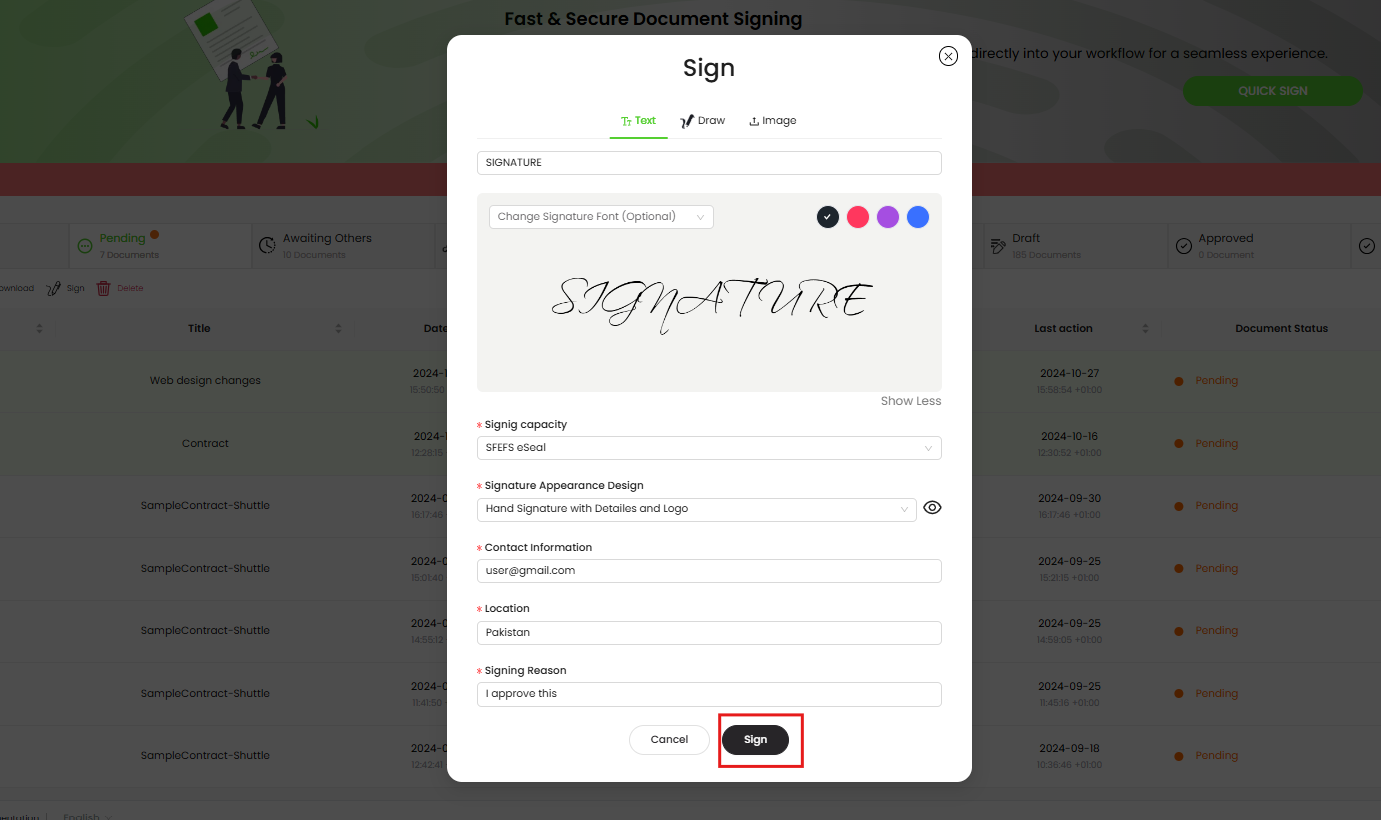
- Upon clicking the "Sign" button, if any "Authentication Method" is configured for the selected signing capacity under enterprise roles, an authentication dialog will appear. If no "Authentication Method" is configured for the selected signing capacity under enterprise roles, the document signing process will start. In the list of documents selected for bulk signing, all the signature fields with the same level of assurance that matches the selected "Signing Capacity", in the above step, will be signed.
|
|
|

|
|
|

- Click on the "DONE" button once the bulk signing is complete.